Posted on

Project – 1950’s Horstmann Desk Lamp Restoration – Picking Workshops.

How to find classic designer desk lamps and convince people to give you them for nothing!?

Luke Maynard – January 2020

After lending a hand with a local business premises relocation, not my usual job description, but when projects are thin on the ground the bills still need to be payed and apparently my certain set of skills were needed. Who knew….? Anyway after disassembling and reassembling various work benches, storage units, the lifting, shifting and general hard graft, i was finally rewarded with this gem of a find! Previously used by the business, as lighting on an electronics work bench, which was ironic with the history of the designer desk lamp itself, it was a little worse for ware and had definitely seen better days. “What are you going to do with this?” i asked….. “It was gonna tip it, not sure it even works anymore….” He said…. ” After explaining my plans to restore it to its former glory, he was happy to see it go to a new home. It’s amazing what you can find tucked away in old workshops and to think it was probably going to end up in a landfill somewhere! Sacrilege! I couldn’t wait to get it back to my own workshop and start nursing it back to health. Smiles all the way home! 🙂 Continue reading

Posted on

Project – Ammo Box(s) Restoration

Sunday 22nd September 2019

Project – Ammo Box(s) Restoration

After having a cuppa and a catch up with a member of the family, listening to their latest adventures from the previous week. They mentioned a family friend who had two chunky wooden WW2 Ammo boxes in need of some tender loving care. Obviously my services had been automatically offered with out my knowing, but its not often i get the chance to experiment with something from such a point in history. So I jumped at the chance, with a big grin on my face to boot. See, Family can be a great source of free promotion for the business too. Wink, Wink! Continue reading

Posted on

Project Blog – Reclaimed – Garden Tool Lock Up

Finding a decent sized workshop as a base-camp for my business wasn’t as easy as i expected. After long discussions with my landlady, she gave me permission to convert her three lovely sheds into a work space to get me started.

Under one condition. The sheds needed a good old tidy up and another storage solution was need for all her gardening equipment, of which there were quite a lot. The idea i came up with was a safe lockup to store her tools.

Made from reclaimed wood from various donations, including numerous pieces of palette lengths of which i had      a lot spare at that particular time. With a simple construction, I built a raised base with a hardboard boxed frame walls. Making a solid slopped roof from ex-bed slats covered with an impermeable membrane to keep the rain out!

Running low of supplies for the actual doors at the time, i decided to build my own from palette board lengths. My first attempt at this i might add and seemed to work out quite well, if i don’t mind saying so myself. They would also need waterproofing like the roof, so quite a few layers of varnish were needed to keep the elements out.

The final creation ended up quite a large and difficult to move, so after settling it in its final location i added a final few layers of racing green gloss paint. This almost camouflaged in its environment, which was one of the conditions of the build.

Hopefully my measurements were correct and all her gardening tools would fit in perfectly and so they did.

Another happy client.

Posted on

Project Blog – Reclaimed – Victorian Kitchen cupboard Sideboard

After doing my monthly trip, scavenging around looking for ideas for my latest project. Visiting my usual antiques shops, salvage yards and car boot sales. I eventually came across this simply designed, gate fold door cupboard. Instantaneously catching my eye i was intrigued by its unfamiliar design and immediately asked for more information….

Recently acquired from a housing clearance from the local area. Pulled off the wall that very morning, from an old victorian kitchen. Nicely worn, but of not much use to many people. I managed to get it for a steal!

A Happy man i was!

This beautiful piece of history had all its original hinges and turn fasteners still in full working order. Not to mention its lovely aged patina. I wonder what useful storage could be made from this new found item.

With slight damage to the base and lower corners, i decided to add a decorative beading around a raised platform to cover a multitude of holes. Filling the rest with wood filler, all it needed next was a good old sanding back.

After adding new wood to old, i eventually decided to try and match the original white paint work on the doors.

Not as easy as i thought!

Finally giving in, i decided a re-sand and paint was needed.

Adding a pearl white matte paint was the perfect final touch to this now useful sideboard.


Now taking pride of place in my own studio flat, it adds ideal storage and a place to exhibit my collectable and general objd’art.

Posted on

Project Blog – Reclaimed – Mid Century / Gplan style work desk.

After the donation of a set of old kitchen furniture from a former client, which consisted of an oval extending one leaf table and a set of six matching chairs. I placed them in storage, thinking i’d find a use for them at some point in the future or find them a loving new home.

Well that time had arrived.

I’ve always had an interest Mid century, G-plan and general Scandinavian styling and design. Having family in that part of the world has always helped too. I thought to myself, wouldn’t it be nice to create something in a similar styling, but put my own stamp on it in the process.

After researching inspirational images on the internet, i eventually sketched a design down on paper and the project finally grew legs, so to speak.

Next it was time to raid the wood store, to see if i had any suitable materials for the project in hand. Of course, eventually i stumbled across the chairs that had been donated from a previous project.

I really liked the curved backs of the ladder back chairs and wanted to use them as the legs for my Scandinavian style desk. So the first thing to do was to remove the upholstery and disassemble the frames of the chairs to see what usable materials i could make use of. This was made very easy for me as they were simply butterfly bolted together and easily came apart, leaving me with a very interesting pile of usable materials.


Next, before i started hacking the wooden lengths to bits, i wanted to see how the chairs looked in their raw wooden state. I discovered if i reattached the front legs of alternate chairs, i would have a lovely matching foot stool. Another possible re-purposed product had appeared out of nowhere.


But that wasn’t my original plan, so back to the G-plan style desk project.

After playing around with the materials, i eventually stumbled across a unique design. If i turned the short front legs of the chair upside down and reattach them. Combining two chairs end to end made an almost gravity defying framework for the desk it’self. A simple but effective design, all i needed now was a nicely finished matching table top to add to the frame. This would turn out Not be as simple an idea as i first expected.


My original idea for the table top, was to attach together a load of wooden bed spring panels. Sure enough i managed to build a simple table top from the pieces, but i just didn’t look the way i expected. Not complimentary to the chair frame work colouring to start with, so now it was time to find something more suitable.

I decided to go out to one of my suppliers to see what inspiration i could find. Sure enough i stumbled across something i thought would be perfect. An old partitioned shelf which i think came from an old map chest, just about the perfect depth and length. Although, when i got it home and married it up with the chair made frame work, I still had reservations about the overall styling. Back to the drawing board with this one.

It’s at times like this i find it necessary to take a step back and ask the advice of my creative family and friends. A fresh pair of eyes always helps!

Sure enough, with a few creative critiques, referring back to my original inspirational images and a bit more rooting around in my wood store, i found the perfect pieces from an old christian cell bed. Nicely aged with curved corners, slightly overlapping the chair frame. I eventually found the perfect table top. That was a good day!


Posted on

Project Blog – Refurbished – Rotating table with Singer sewing machine base

After all the designing , planning and measuring of church pew bits. Which were originally designed to fit around an existing table the client already owned. She confessed she wanted to find a new one which matched the style of the booth seat better.

So as i finished one project, it automatically led on to another one.

As a starting point we now had to track down a suitable and similar in style donor table. One that fitted the look of the now finished church pew seating. My client and myself had slightly differing ideas on what sort of item we were looking for, but in the meantime it was time to go shopping.

After looking around all my usual salvaging haunts, it was becoming increasingly more difficult to find a suitable table. We managed to find numerous possible tables, but finding a match was still becoming an issue. Until my client mentioned she had an idea…. She had an old Singer sewing machine base that had been purchased a couple of years previous. She suggested using it as a leg base for the table. So this meant all we needed to find now was a suitable table top in a similar style. This wasn’t as hard as expected, we eventually found a simple horizontal drop leaf table top in almost the exact shade of colour. Perfect!

The only issue was to find a use for the legs, but i’m sure after they were kindly donated to the business by my client, i could find a use for them eventually.

Right the next step was to colour match the table top to match the booth seat. So after a good sanding down and adding a few layers of stain and varnish it was done.

My client had one last challenge for me. The main use of the table was to sit horizontally between the side booth seats. There was only one issue with this idea. The extendable leafs would not fit within the desired space. So this was going to require a few experiments to see if i could come up with a solution.

I thought to myself, surely it would be easy to turn the whole table round by moving out from between the seating, extending the drop leafs and placing it back in. The only issue was the Singer base would not fit sideways in the gap, plus there wasn’t enough room for your legs under the table! More thinking required!

Then i had a brain wave. I had forgotten about an old garden table top i had acquired months previous to the build. It had a rotating baring built into it, which i assumed was still in working order. Time to check it out!

I was pleased to find it in full working order. So next, all i had to do was attach it between the Singer base and the drop leaf table top. This would enable the top to rotate, leaving the base where it was. I would have loved to incorporate the Singer pedal into this process, but this was a little bit beyond my engineering capabilities.

First i had to build a secure wooden frame attached to the singer base, which the circular bearing would be connected to. This would need to be spaced correctly so the bearing could turn properly. Not as easy as i thought. I eventually, after a lot of tweaking, got the table top to turn a full 180 degrees. Perseverance was the key on this occasion. I was very proud of the final outcome and hopefully so would my client.

She was happy and so was I.

The only thing left to do was to install it in it’s new home, matching it up with the booth seat. I can definitely say that compliment each other perfectly.


Posted on

Project Blog – Reclaimed – The church pew diner booth seat

Phone buzzes…..
“Hey….i’ve managed to get hold of a load of old chuch pew bit’s….do you think you could make me something
interesting?”
“Yeah, what kind of thing you thinking of?”
“It needs to seat at least six people and have extra space for storage….?”
“I’m sure I can come up with something… Leave it with me.”

This actually happened.
Something along those lines anyway.

As you can guess I was quite excited when the van arrived….
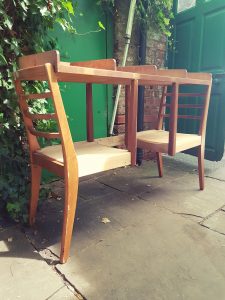
And a man unloaded ten beautiful hand crafted pieces of church pews. All back pieces I might add, buy that wasn’t going to dull my mood. Tiring work dragging them up the garden and trying to fit them in the dry wood store too, but still had a smile on my face.

Day one. Ideas time…

I decided that it would be a shame to spoil the lovely workmanship of the pews, so the theme should be within keeping of their original use. But with it needing to sit up to six people, this was going to be a challenge and a large one at that.

We mulled around with a few ideas and came up with a diner booth idea. That way we could have storage under the seating, like ottoman style chests built in to the design.

How big would it need to be…?

Well, the seat had to fit around an existing farmhouse style dinning table. This actually gave us an easy start, so out came the masking tape and a rough plan started to physically appear on the kitchen floor. That’s right….we did a floor plan with the masking tape. This enabled us to work out the size and where the seat would eventually live. Around two meters square… that too big? Nah! Will just have to make it in sections and assemble it a bit at a time.

Day two. Measure up twice, cut once….

After drafting a rough three dimensional sketch with the correct measurements. It was finally time to be creative with the power tools….

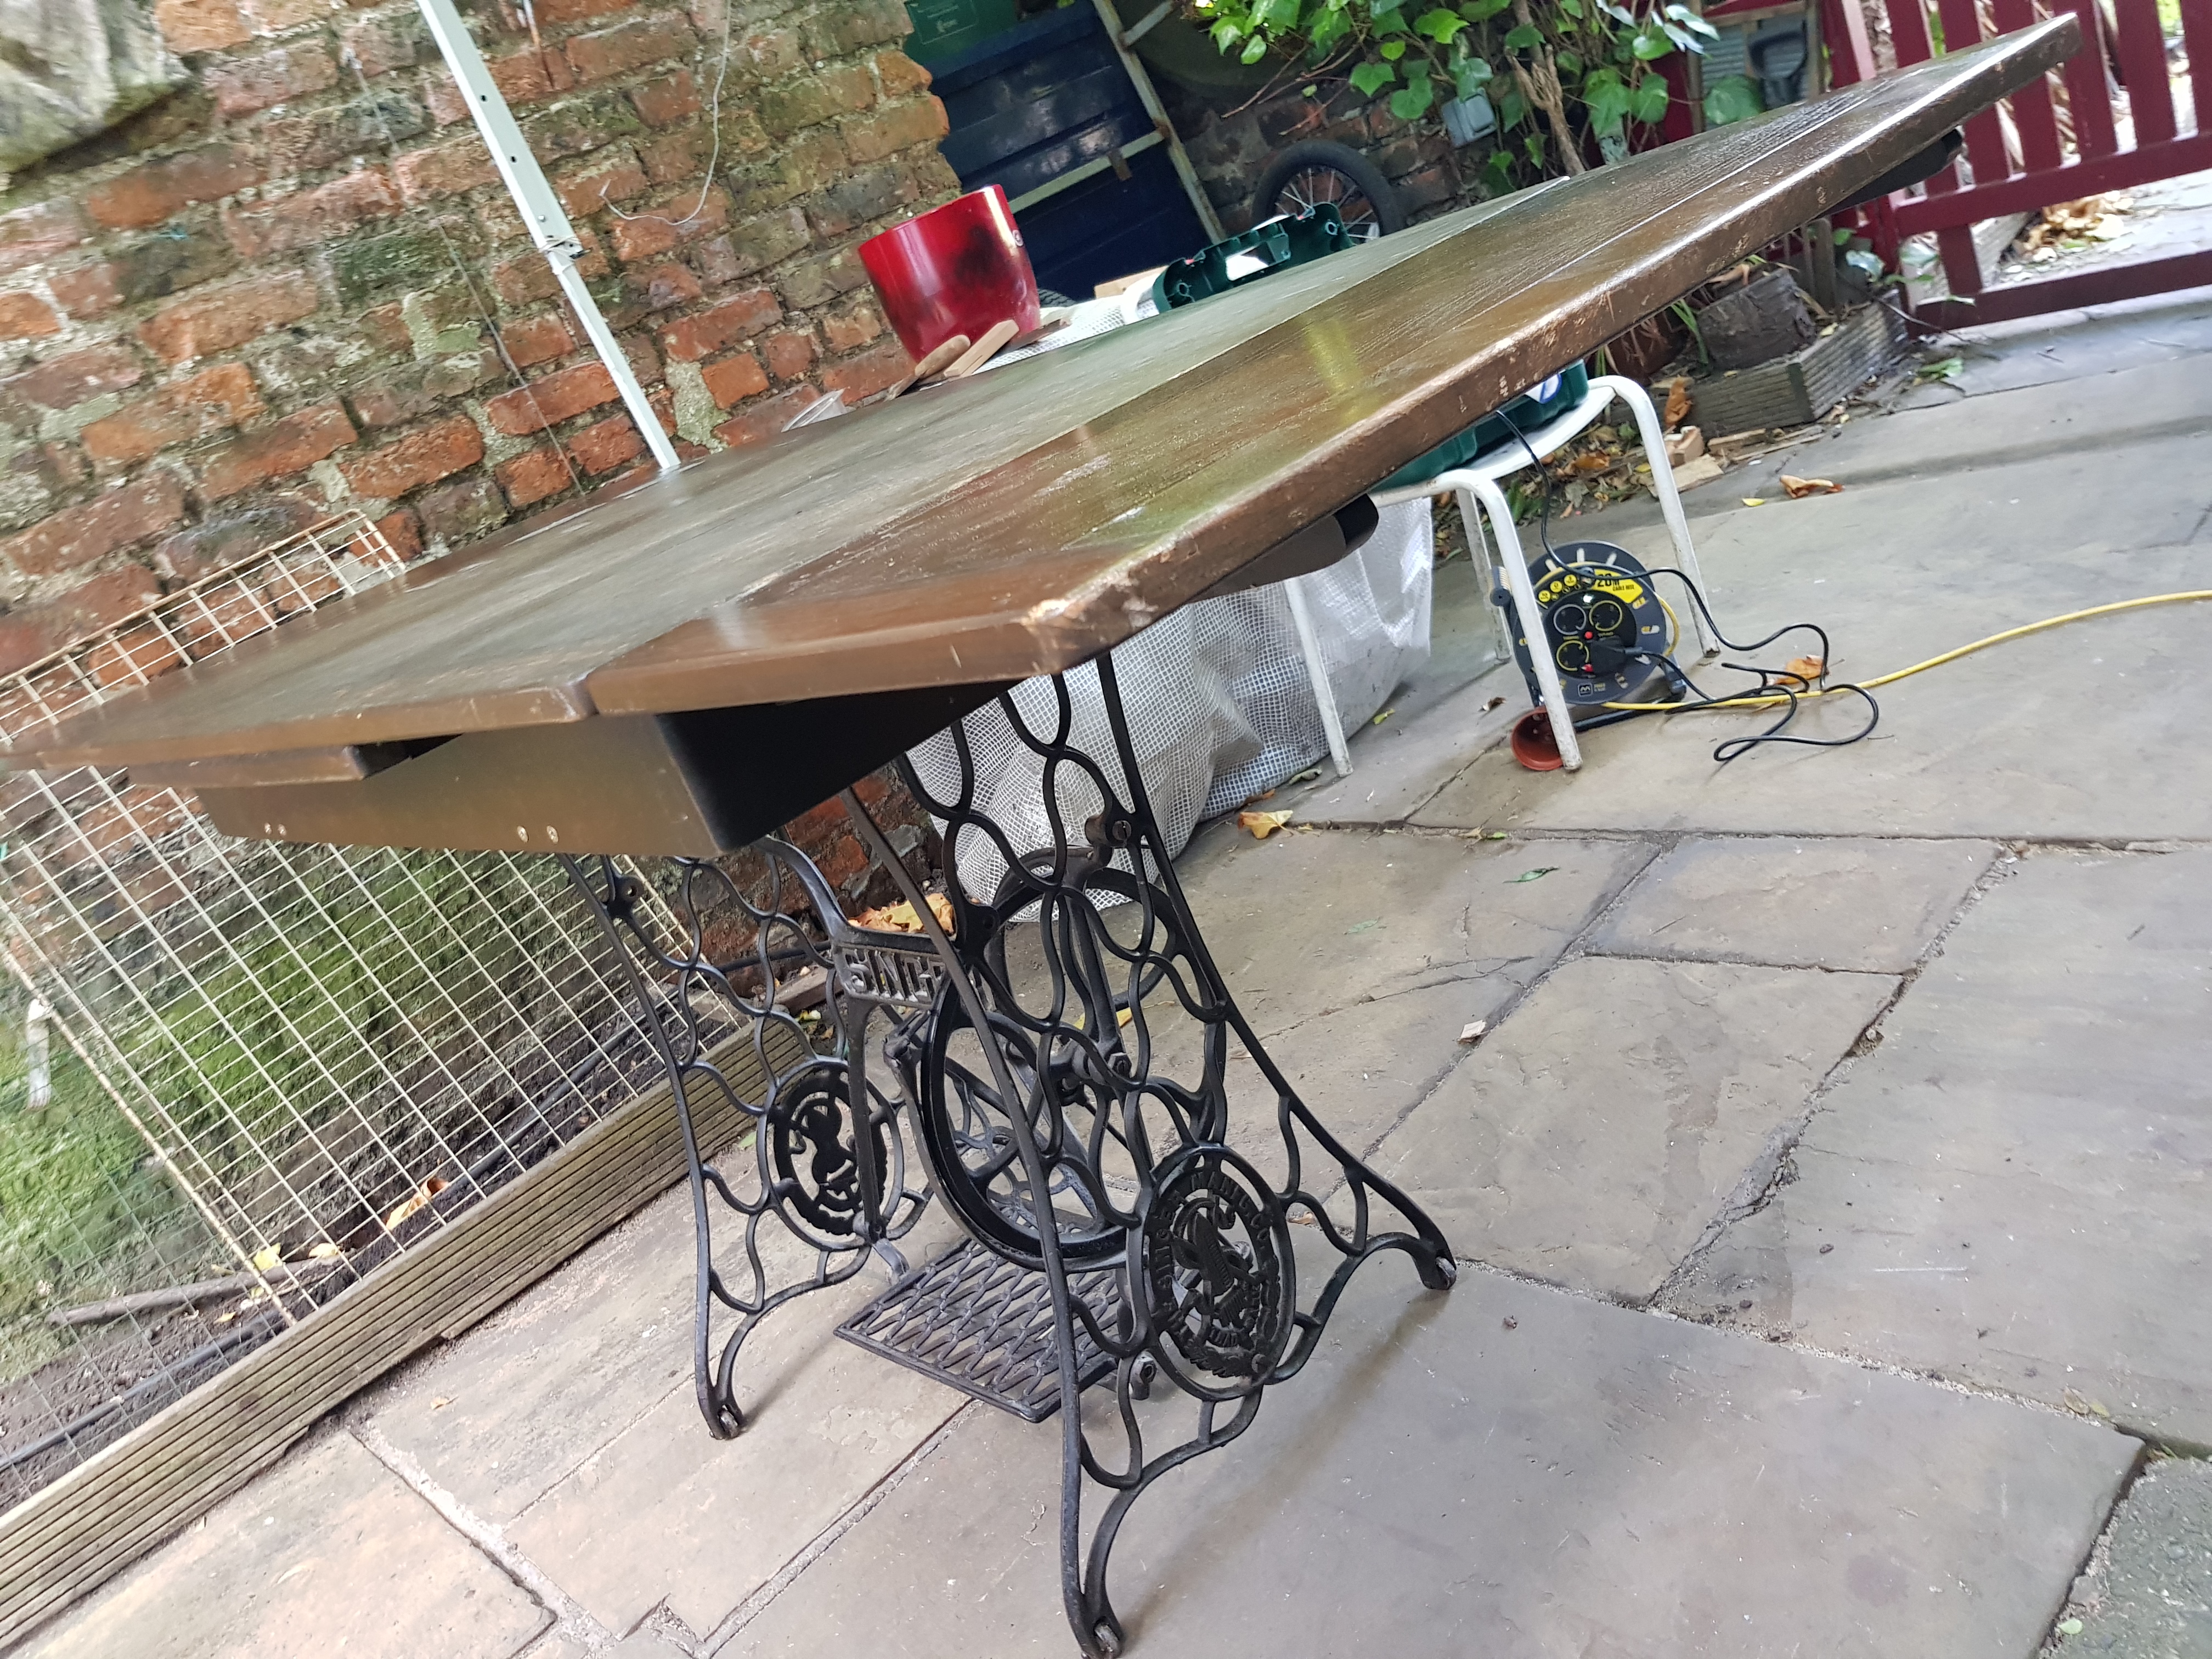
As all the pieces of wood were the back rests from the pews, I thought if I was to stick two end to end, length ways. Then that should be about the perfect height for a comfortable seating position….Then use two more pieces to create the actual seat and Base for the whole unit. This would have to be done three times to make three separate units, which can be slotted together to form the whole thing.

I achieved this using flat metal brackets to sure up the a joined pieces temporarily. Before I knew it I had the three main pieces built and joined. If I could get them to stand up under their own weight then that’s most of the big work done.

Day three. Making it safe to sit on….

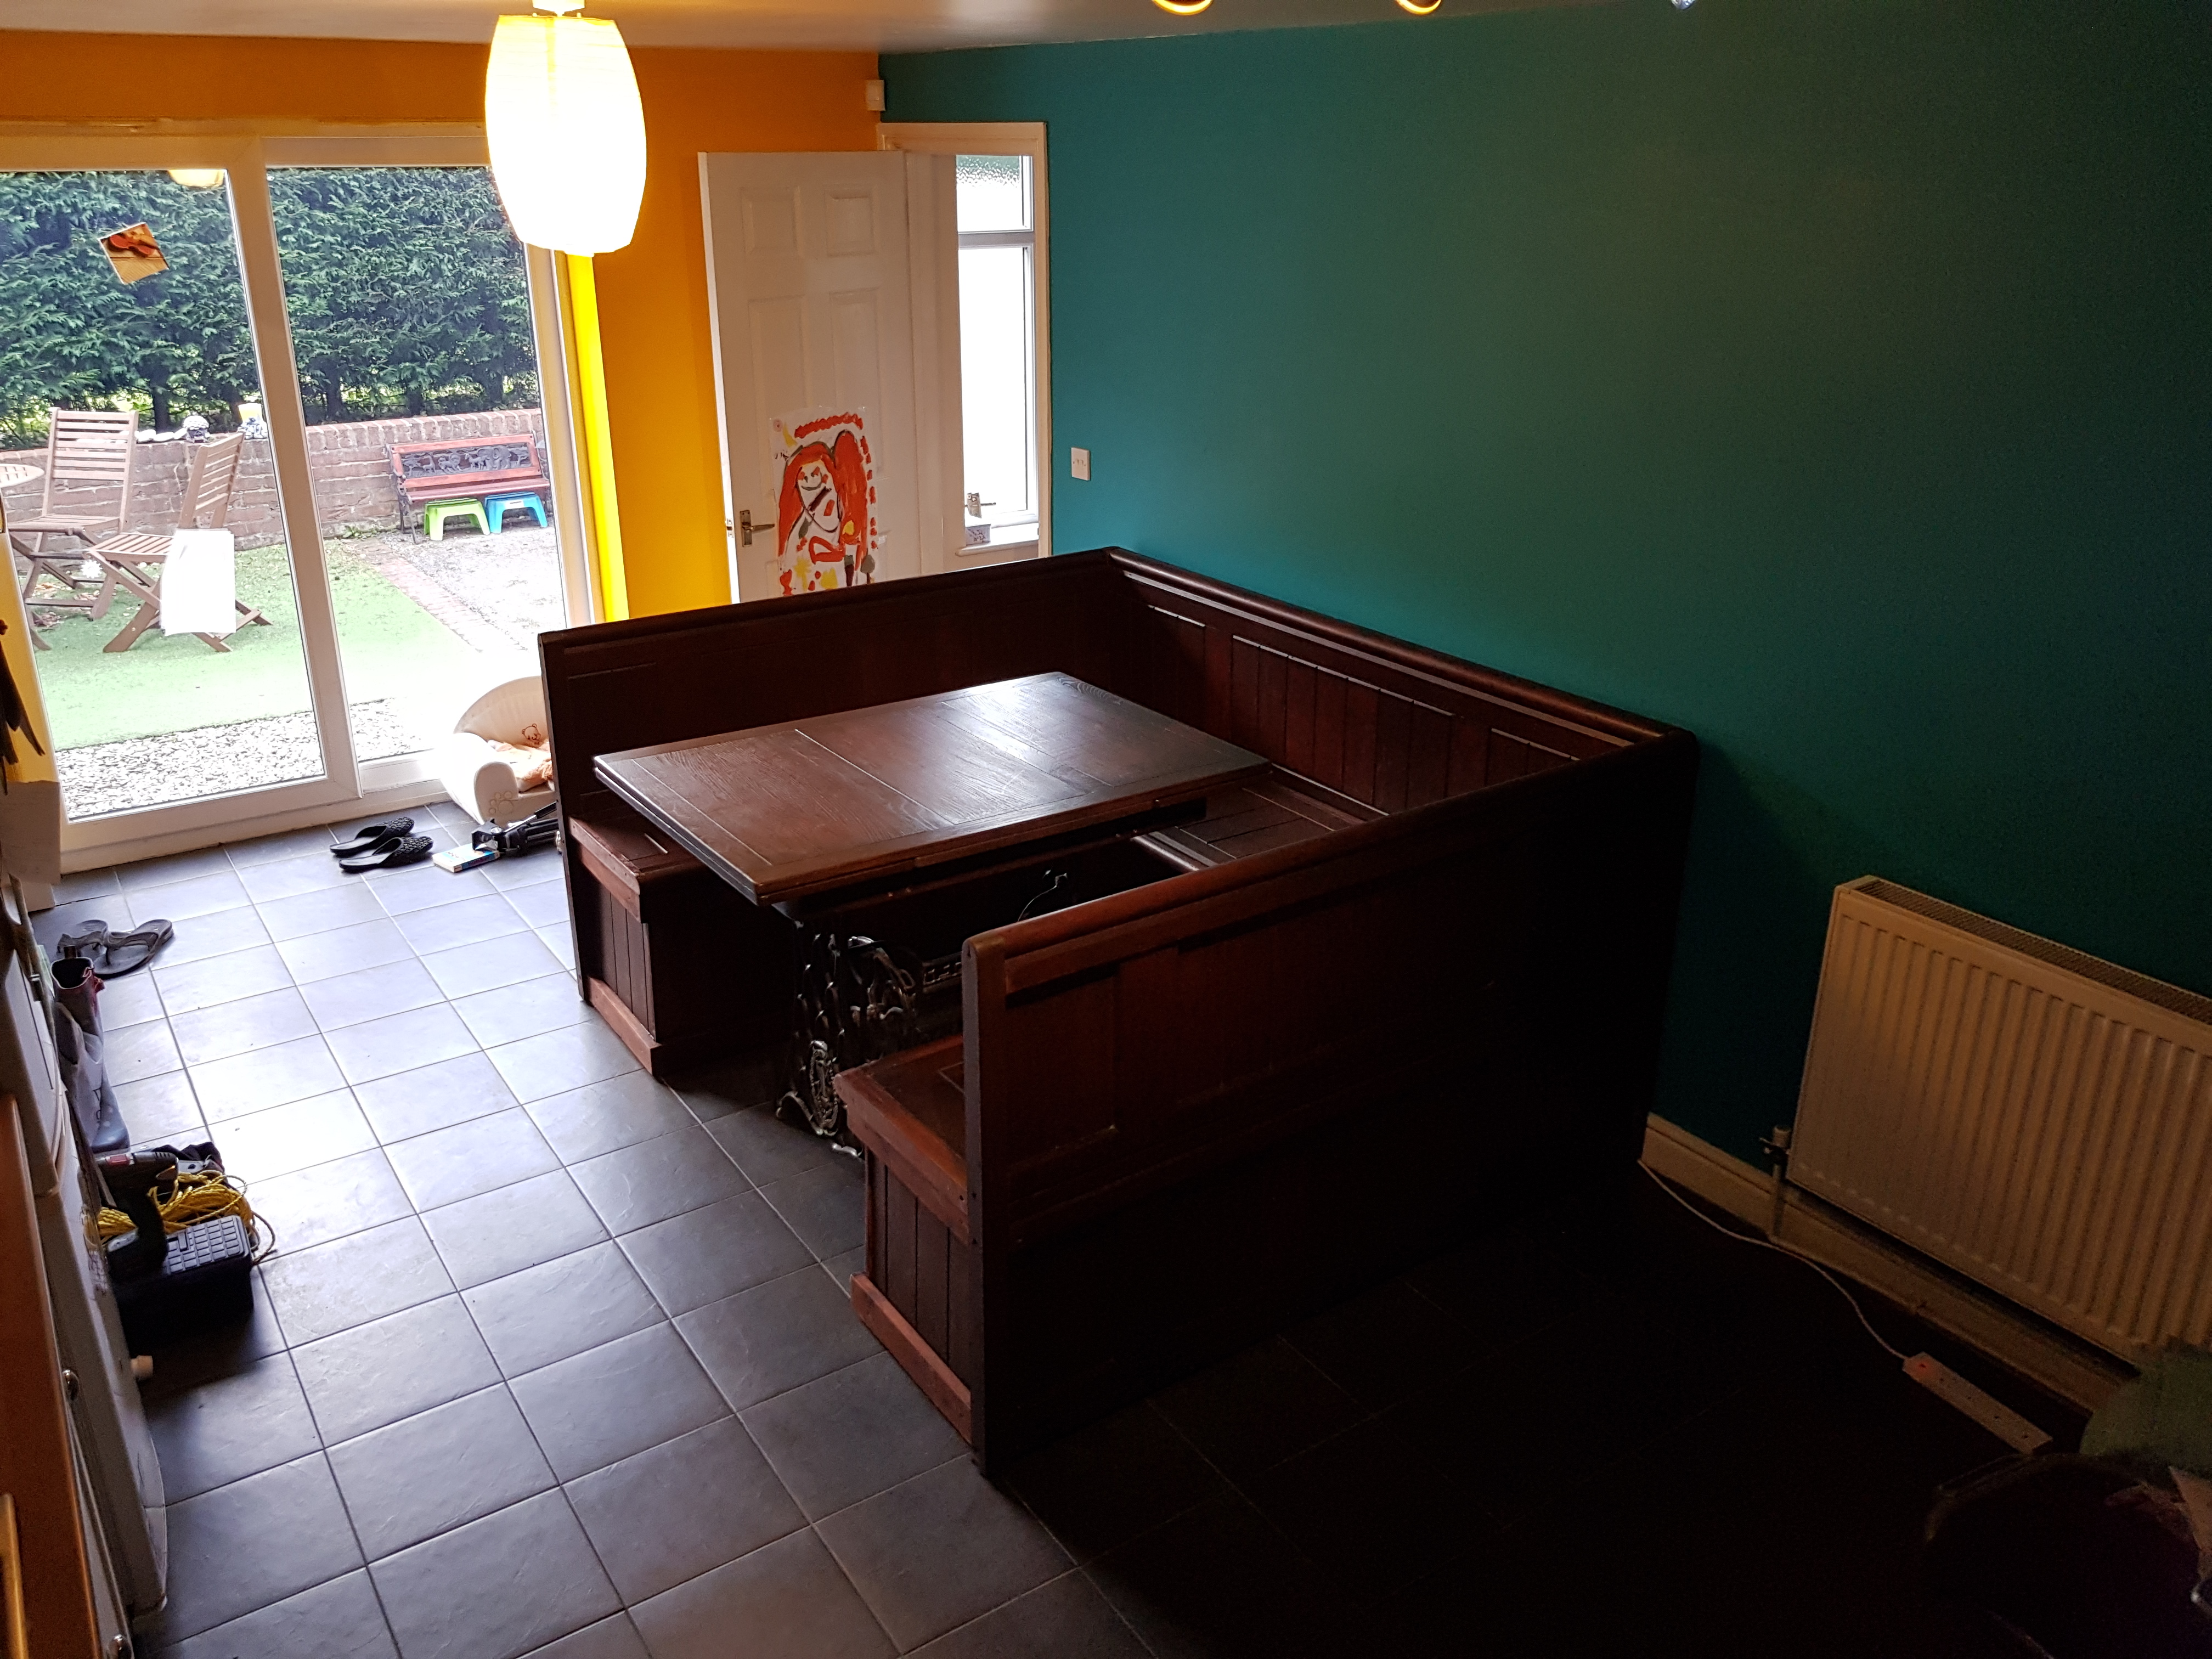
Now for the difficult part. I now needed to build the internal structure, the frame that the seats would attach to….and that would hold the whole thing safely together. Normally it would be done the other way round, you would build the outside around the inside, but the simple fact of the matter was I couldn’t cut the pews to the desired sizes without ruining their beauty.

Anyway, after various measuring and cutting of two by two lengths, I managed to create two identical ottoman frames for the pew seats to attach to. Already safe to sit on I might add.

Day four. Internal floors and decoration….

Now the internal frame work was finished, I needed to make the storage usable by adding a base frame and flooring into all the ottoman style storage. Although flooring into all the ottoman style storage. Although this would shrink the storage size ever so slightly, it would keep items dry and off the ground. It looks a whole lot better too.

Day five. Final cuts and hinges…..

Next , it was time to tidy up all the sharp edges and corners. Making sure all the angled joints all flowed into each other. Matching the older wood into the new. Not an easy task trying to make a right angle turn into a curved edge, but just about managed with a lot of planing and sanding.

Next it was time to attach the hinges. Reclaimed from a pair of old Victorian internal doors, their rusty age matched the church pew colouring perfectly. Looking almost finished now, I knew that the hard work had only just begun.

Day six & seven & eight. Staining, filling and colour Continue reading

Posted on

Project Blog – Reclaimed – Little blue house Up-cycled Terrarium


Created from totally reclaimed wood and a couple of old garage doors. This project was a lot of fun to produce.

Approached by a local neighbour, who runs her own sucullants and and bottle garden workshops. She was greatly in need of extra storage for her delicate seedlings over the winter period.

She had recently had a garage conversion done on her house, having some beautiful gate fold patio doors installed. She donated me the large set of heavy weight garage doors that had been removed and asked if i could construct a terrarium/greenhouse for her…

Of course i couldn’t wait to get my ideas flowing on this one…..

So the first job was to measure up the destination for this “Little Blue Shed”.

Making full use of the limited space in her slopped small yard garden, she suggested putting the terrarium on the actual slope of the drive….seeing this as a slight issue i suggested building a platform from up-cycled issue I suggested building a platform from up-cycled palettes. This would leave more space in the a flat areas of her plants and decorative nick nacks.

On with design… after deconstructing and reclaiming the wood from the donated garage doors, I decided to keep the window setts intact and use them as the main front doors of the shed.

I decided that sliding doors would be best, because of the sheer weight of the recycled garage doors themselves would unbalance the front of the shed and it would be great for space saving too. Enough room to park the car was mandatory…

I would then have to construct a frame of rails for the doors to slide down.

I made them from reclaimed palette lengths and built around the window sets. Testing the sliding mechanism was very satisfying because it was the first time i had attempted anything like this before.

First time lucky I guess….

Next was the construction of the main shed frame, using a mixture of donated wood and reclaimed palette lengths, i was able to build the internal frame. Including a set of shelves and a 45 degree sloped roof in the design to keep the rain off…

Next i had to build to outer shell….I used some donated tung and groove planks on the sides and back and an old fire door with tuffened glass for the roof, so the seedlings could lap up all the available sunshine.

The last thing to do was to weather proof it as much as possible. I sealed any internal holes with sealant and then undercoated and painted with weather seal paint. What colour would you like it to be……? Blue? So blue it was…